Built for
the land
you love.
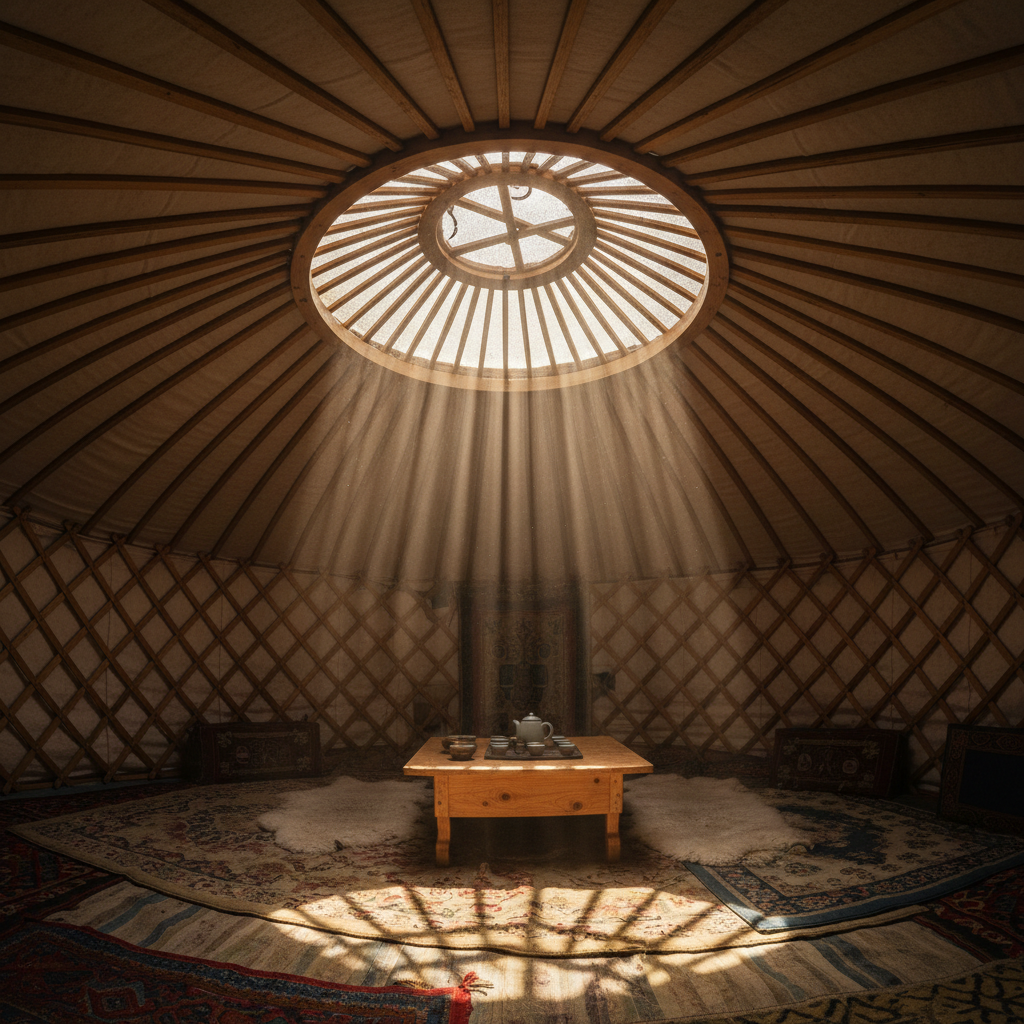
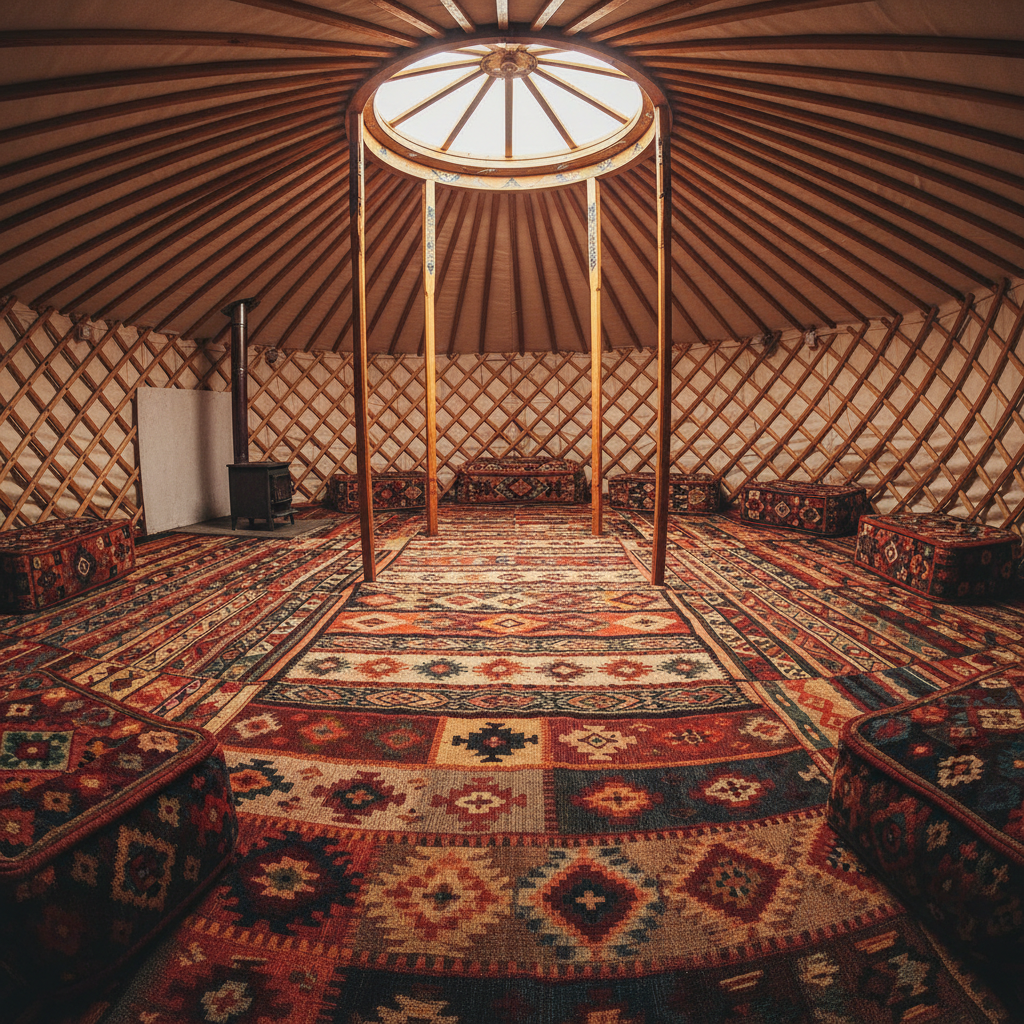
Tensioned canvas over hand-milled lattice. Overnight shelters that feel like permanent homes — dropped into meadows, ridgelines, and coastal bluffs without a single poured foundation.
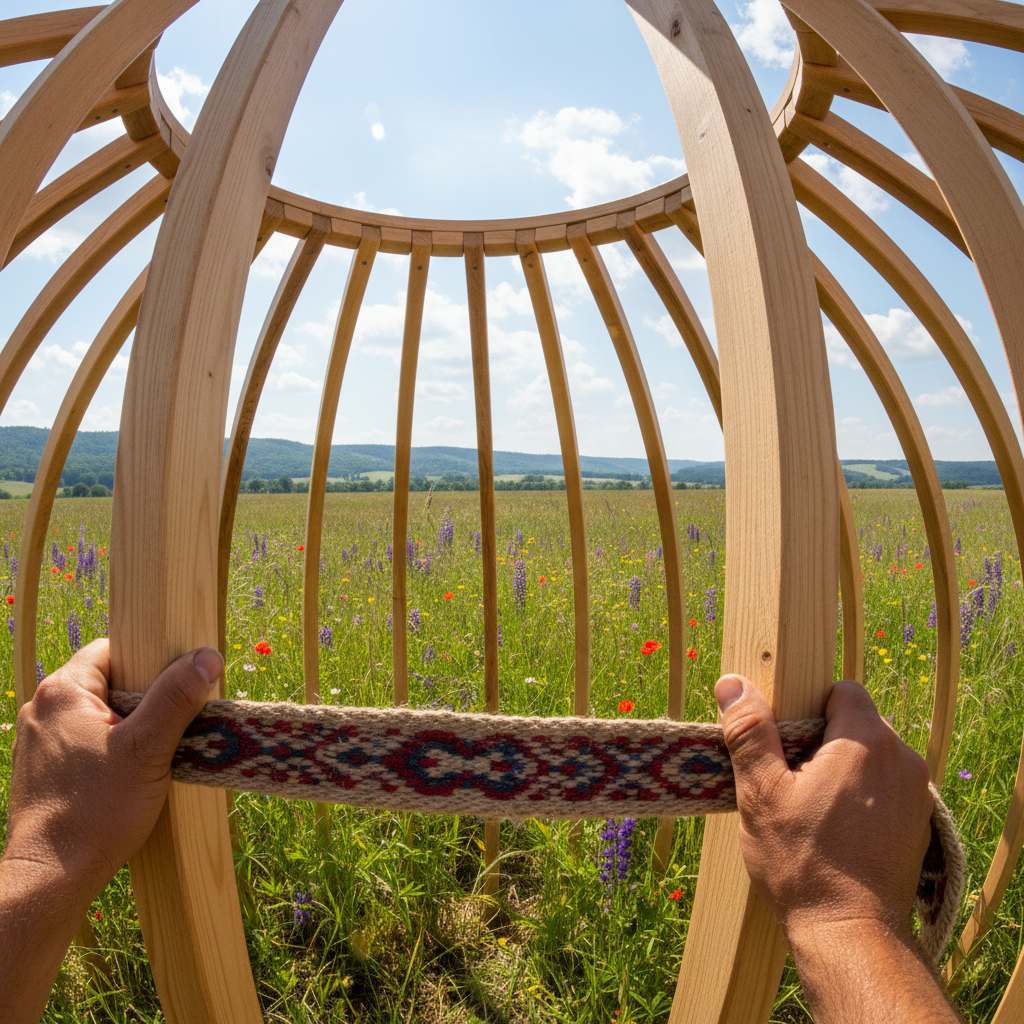
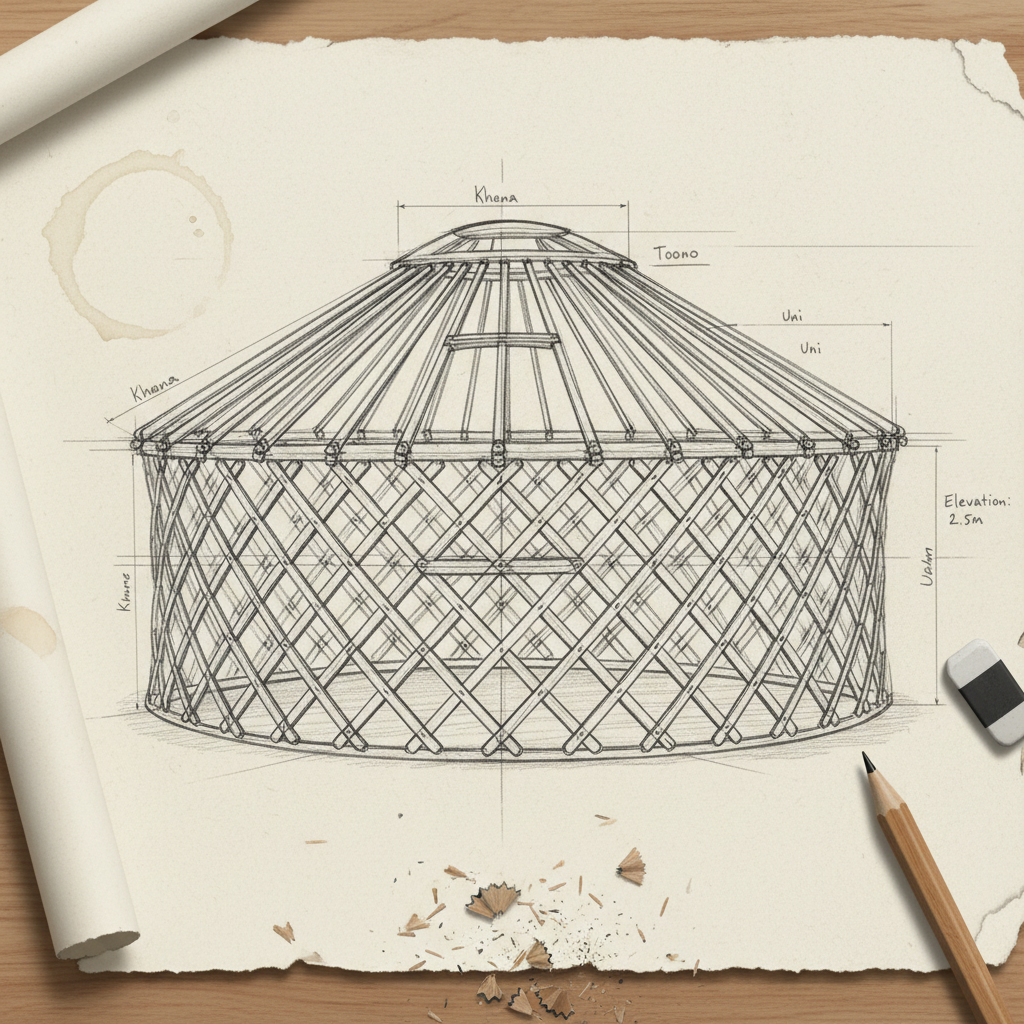
Every yurt begins as a pencil line on a site survey. A measurement of prevailing wind. A photograph of where the light falls at four in the afternoon. We build from the land outward — never the other way around. The frame is hand-milled. The canvas is tensioned by hand. And when someone sleeps in it for the first time, they rarely want to leave.
Three structures.
Infinite sites.
Each model began as a response to a specific terrain challenge. None of them are tents.
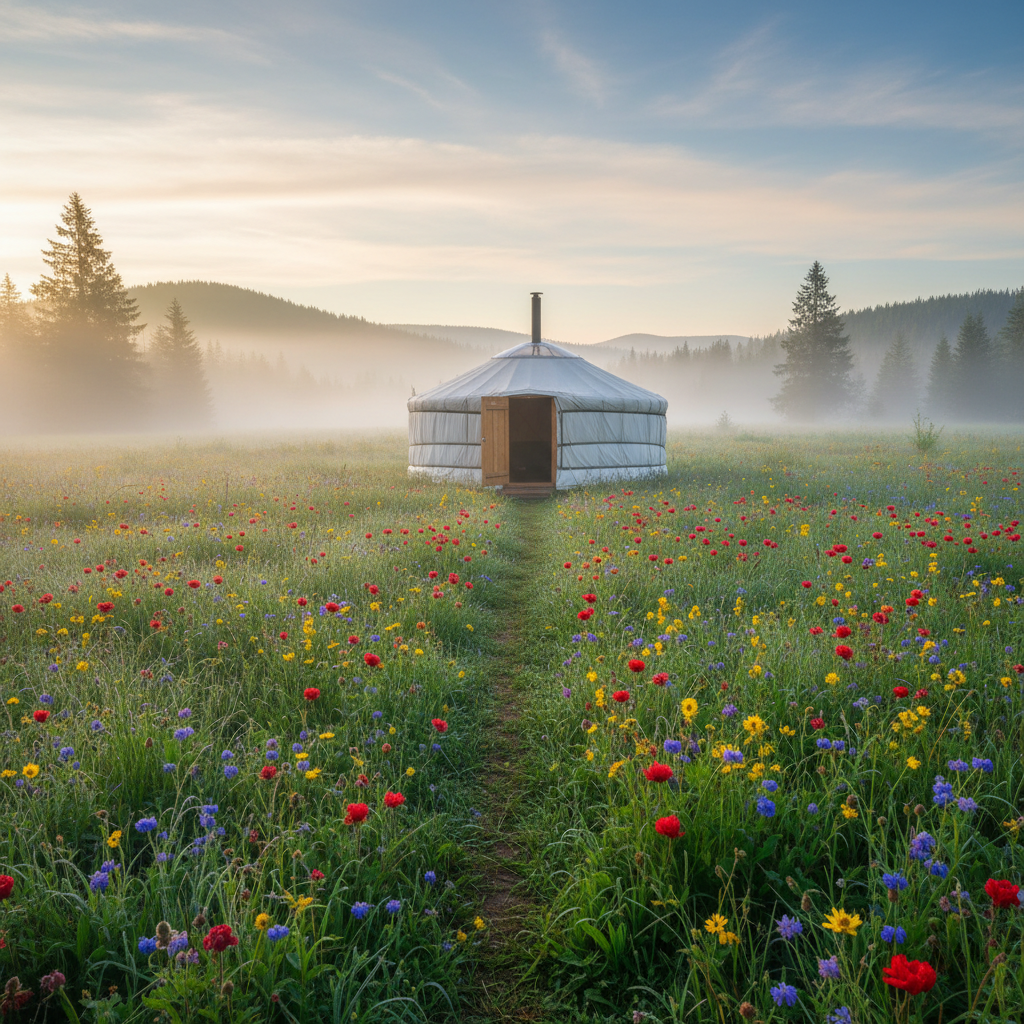
For flat meadows and rolling pasture
Meadowlark
Our smallest footprint — 18 ft diameter, sleeping four. The Meadowlark was designed for vineyard owners converting a single acre into a bookable escape. Low-profile crown ring reduces wind load. Setup in two days.
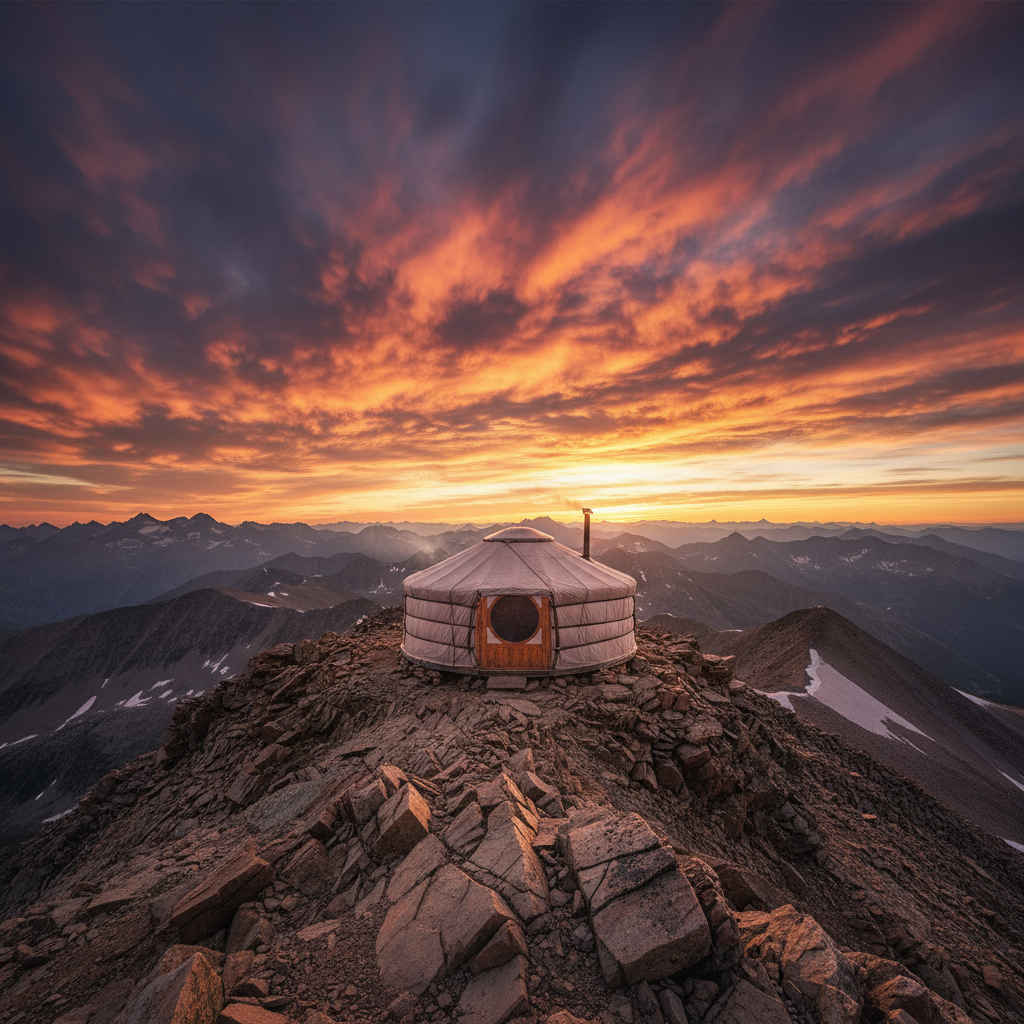
For elevated terrain and exposed sites
Ridgeline
Built for the couple who bought raw land with a view. 24 ft diameter, engineered for wind exposure up to 85 mph. The Ridgeline uses a doubled lattice wall and a high-tension roof system that breathes in alpine conditions.
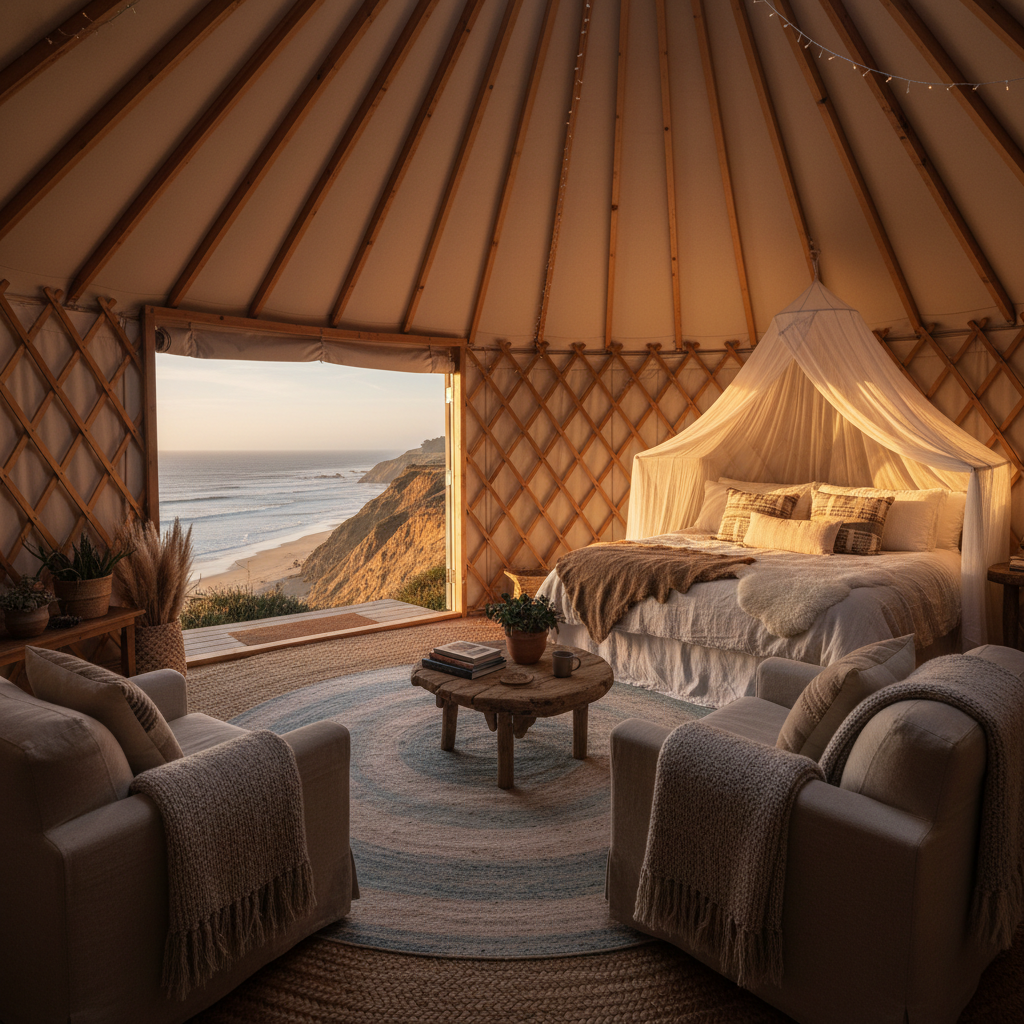
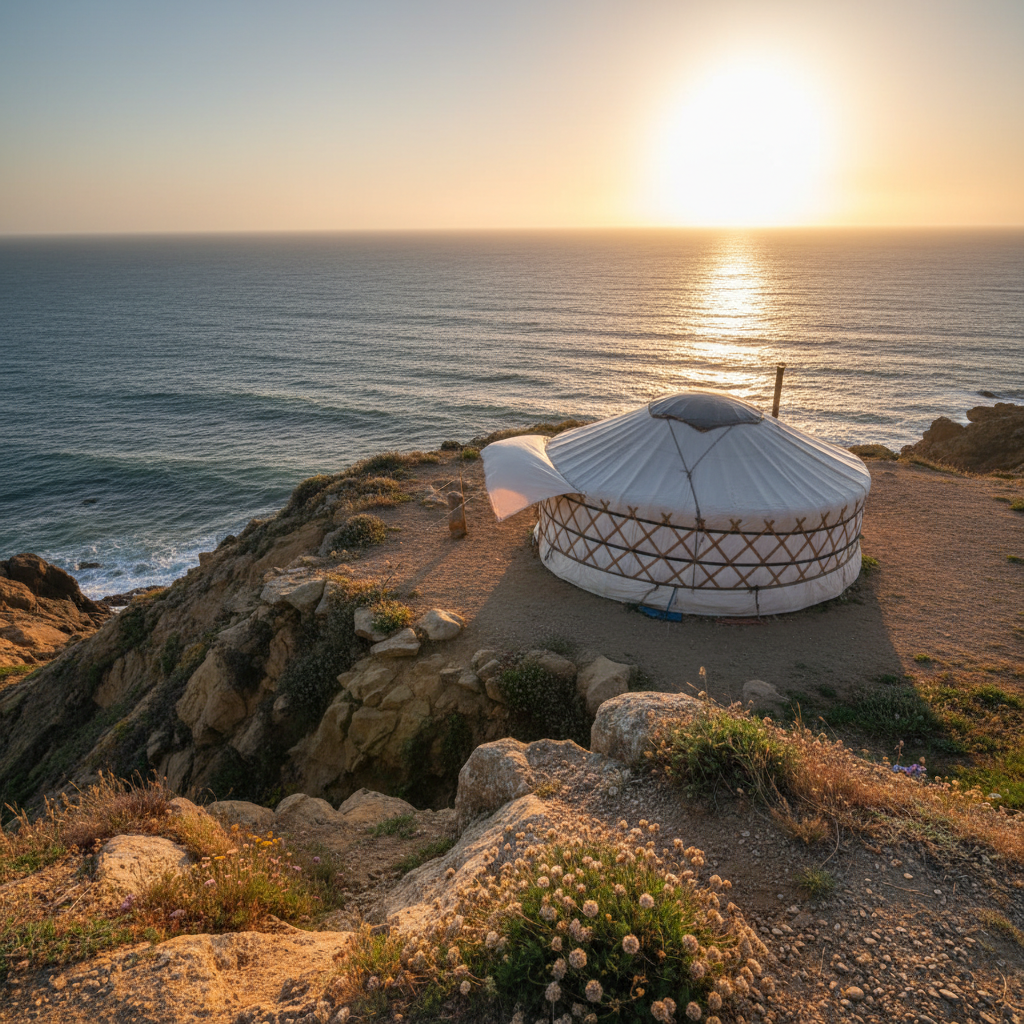
For salt air, sea views, and boutique sites
Coastal Bluff
The most requested model for boutique hospitality founders. 28 ft diameter with a marine-grade canvas that resists UV and salt spray. Interior height of 11 ft creates a loft-ready volume. Three-unit sites are our most common commission.
From survey to
first night.
Drag or scroll to unroll the timeline →
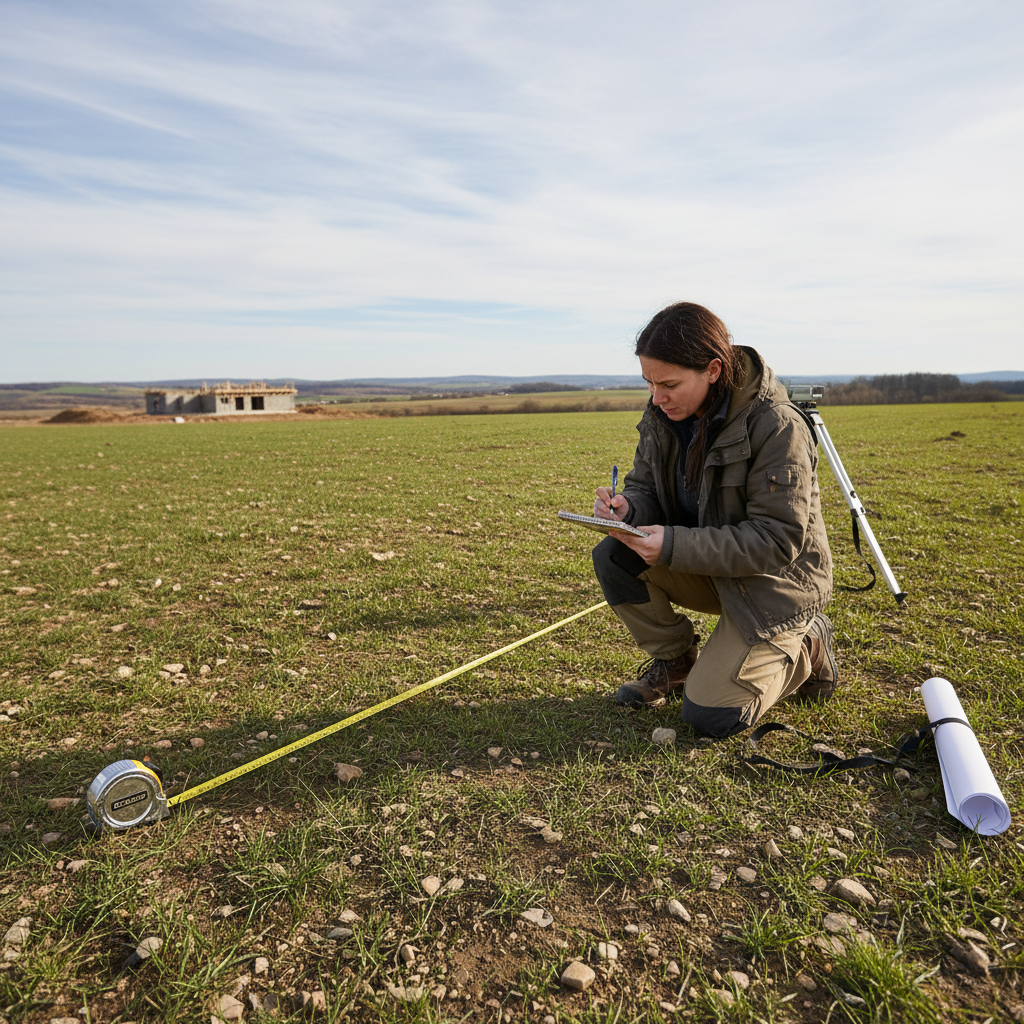
Week 1–2
Site Survey
We visit your land. We measure wind direction, sun arc, slope, and drainage. We photograph the view you want to frame. Every decision downstream starts here.
Terrain assessment, soil report, permitting research
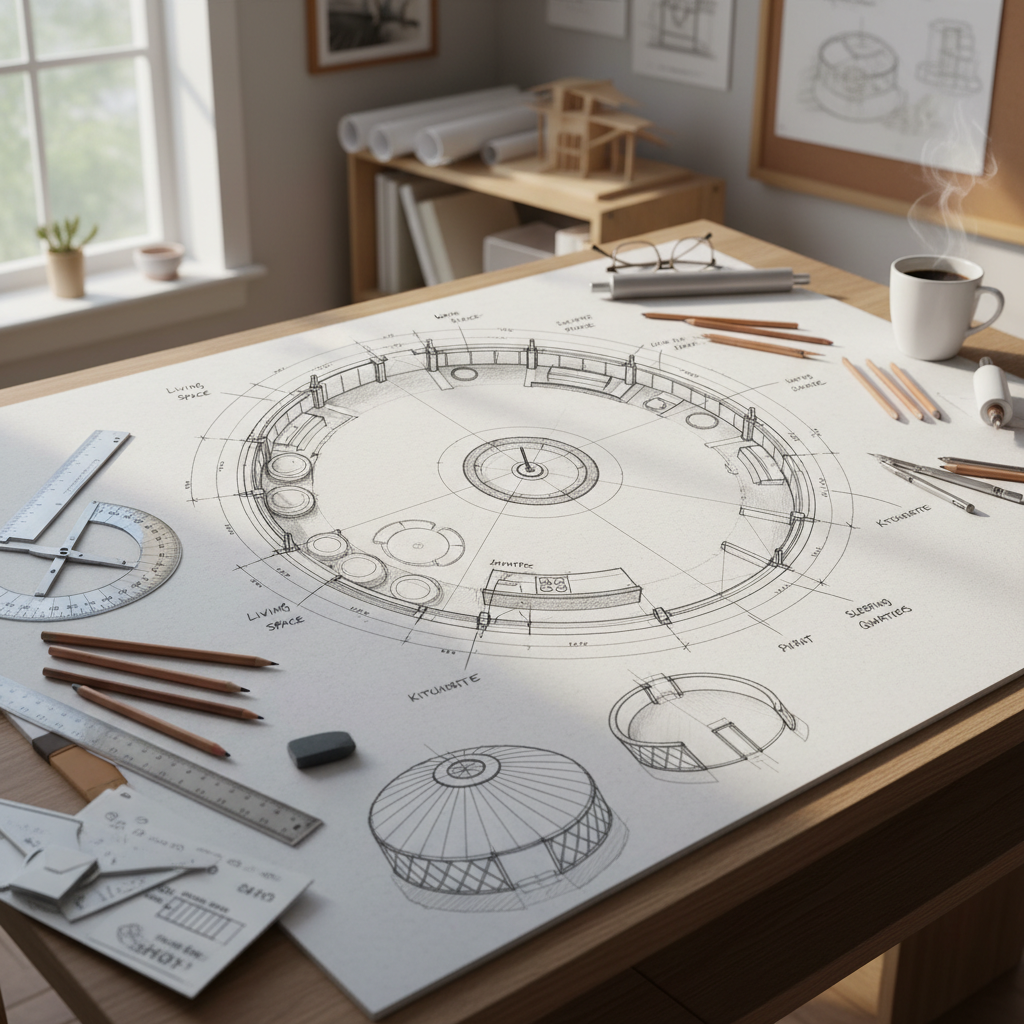
Week 3–5
Design Development
Pencil sketches become scaled drawings. We select the model, orient the door, spec the canvas weight, and choose hardware finishes. You receive a bound drawing set.
Floor plan, elevation, material schedule
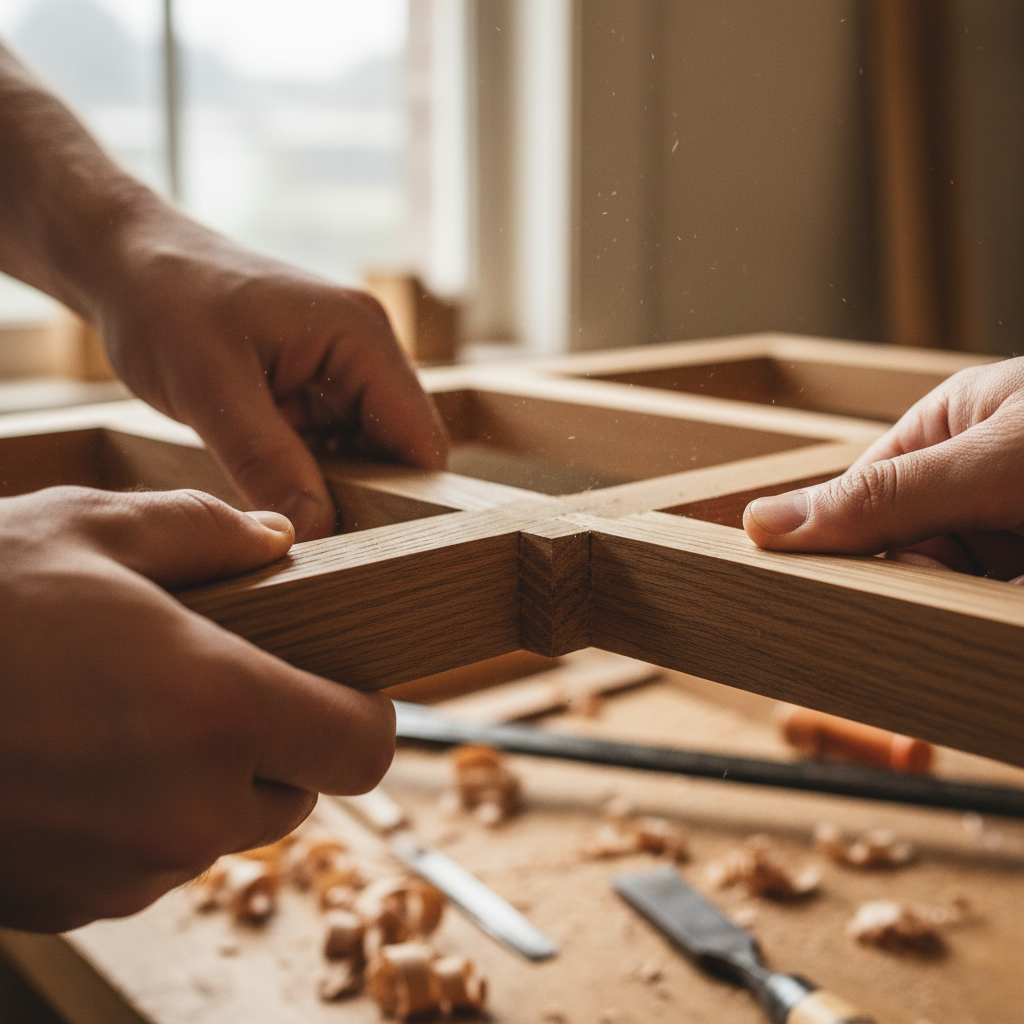
Week 6–10
Frame Milling
The lattice is hand-milled in our workshop from select Douglas fir or white oak. Each khana section is numbered, fitted, and packed for transport to your site.
Milling, joinery, quality inspection
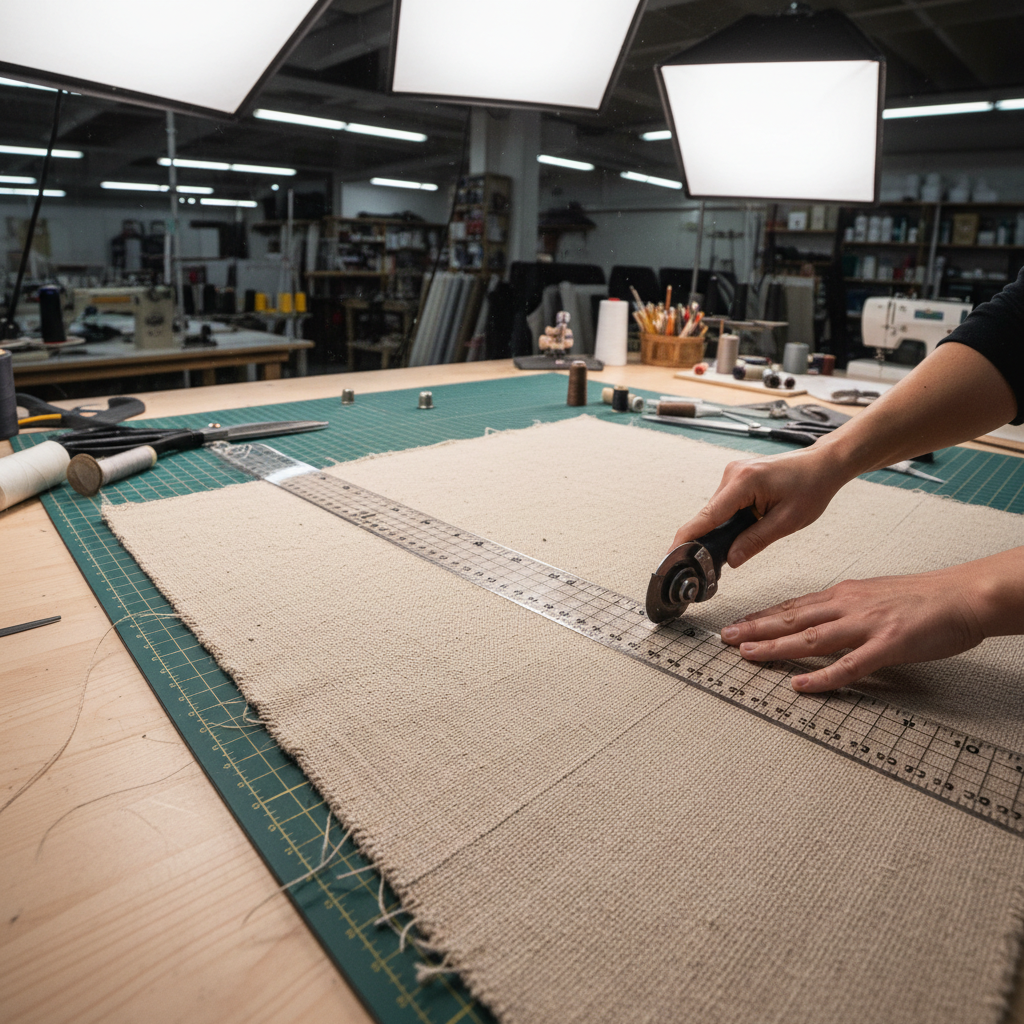
Week 8–12
Canvas Fabrication
The roof and wall canvas is cut, sewn, and tensioned at our studio. Seams are double-stitched and heat-sealed. Every panel is tested before it leaves.
Pattern cutting, sewing, UV and water treatment
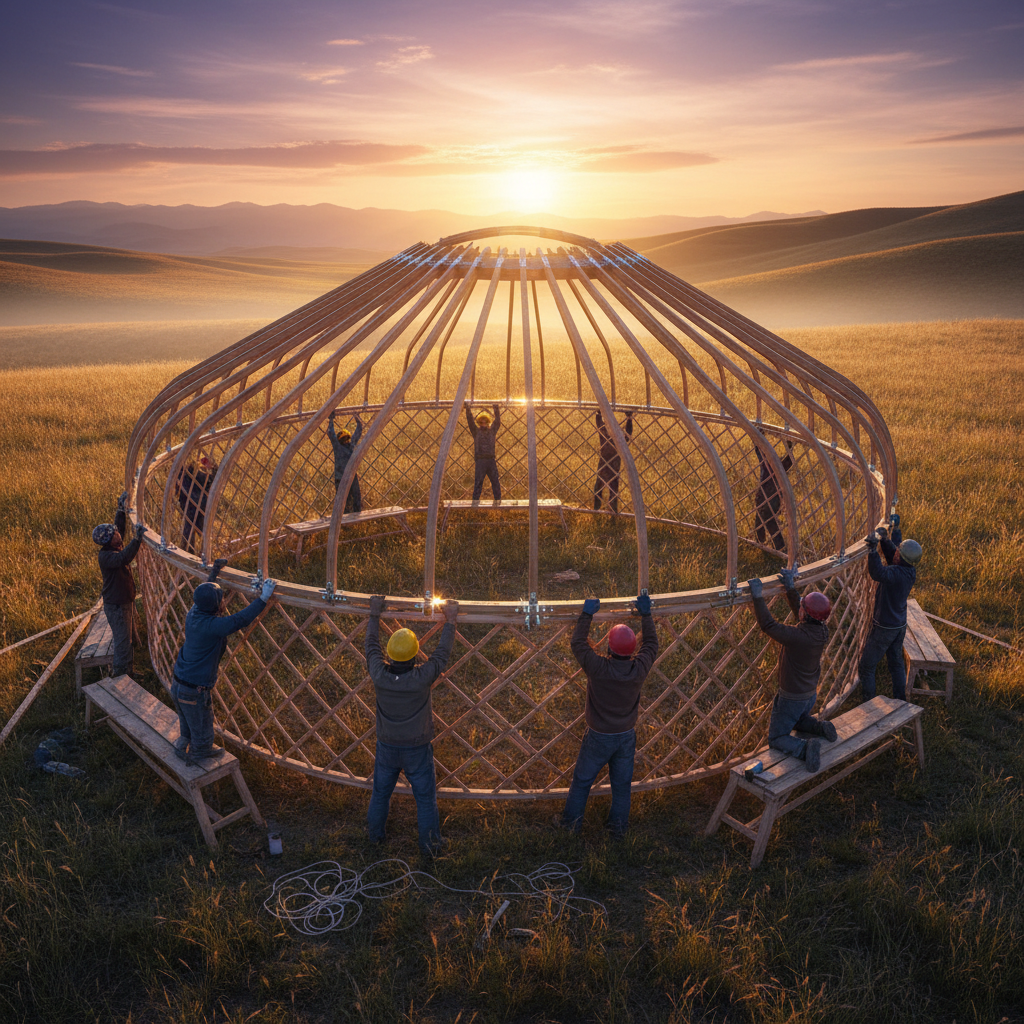
Day 1–3 on site
Frame-Raising Day
Our crew arrives at your land. The frame goes up in one day. Canvas follows on day two. By day three, you are standing inside a structure that belongs to your land.
Structural assembly, canvas tensioning, final inspection
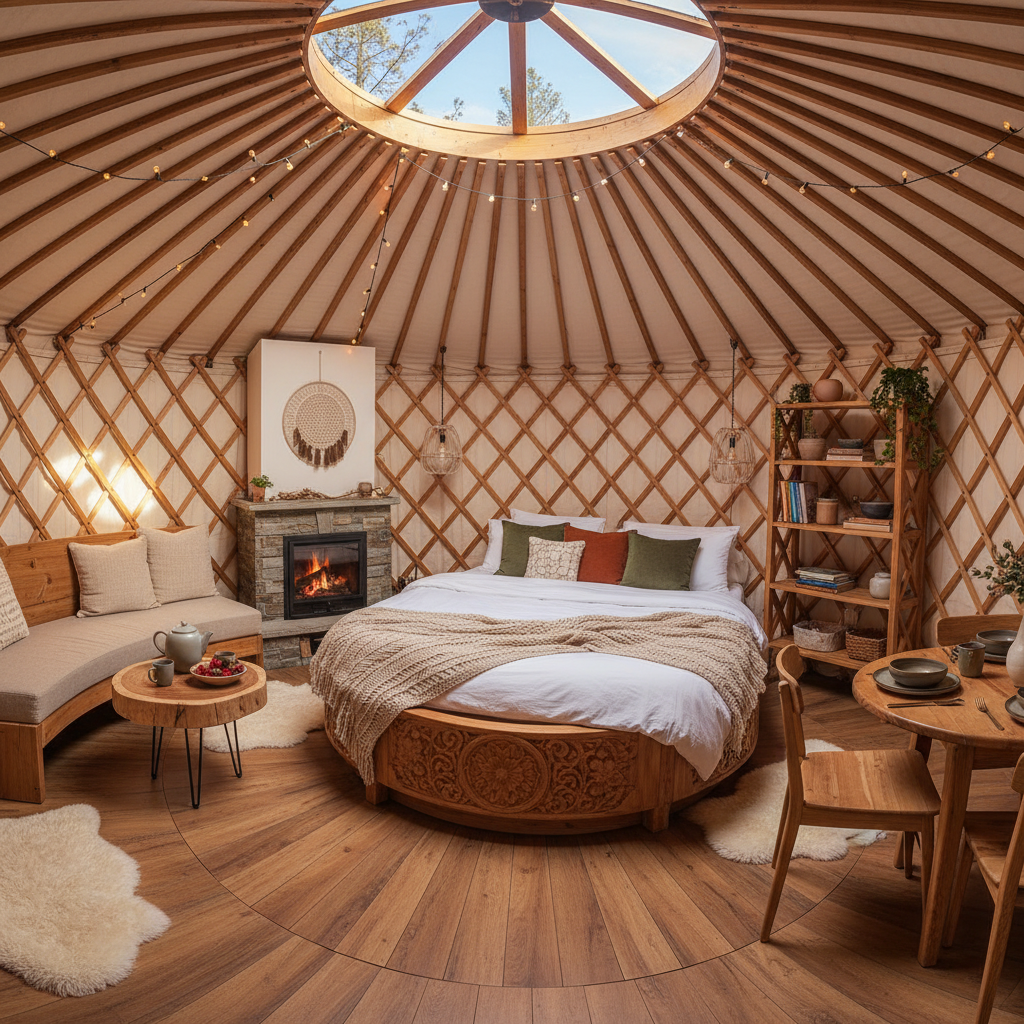
Day 3
Handover
We walk you through every tension point, every seam, every vent. You receive a maintenance guide, a re-tensioning schedule, and our number — for the first winter.
Owner walkthrough, documentation, ongoing support
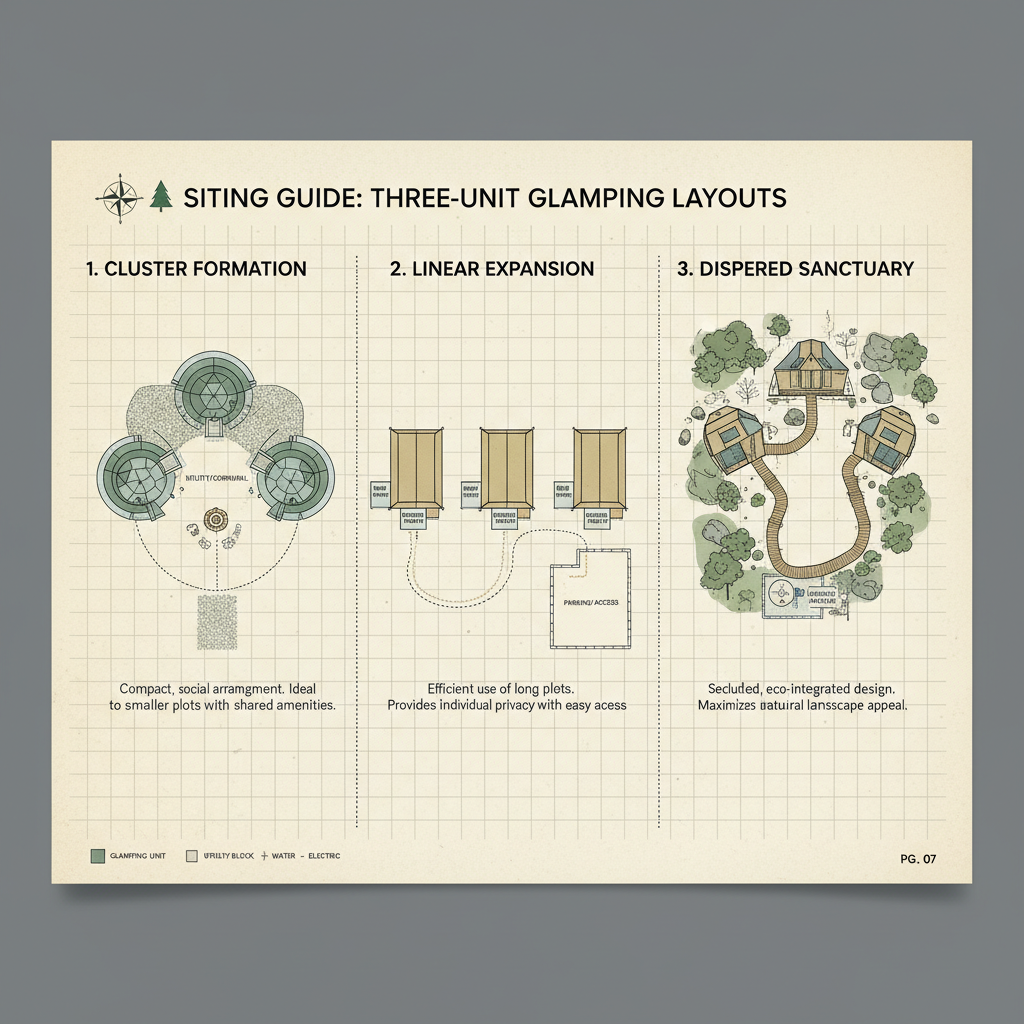
The Siting Guide.
22 pages. Yours free.
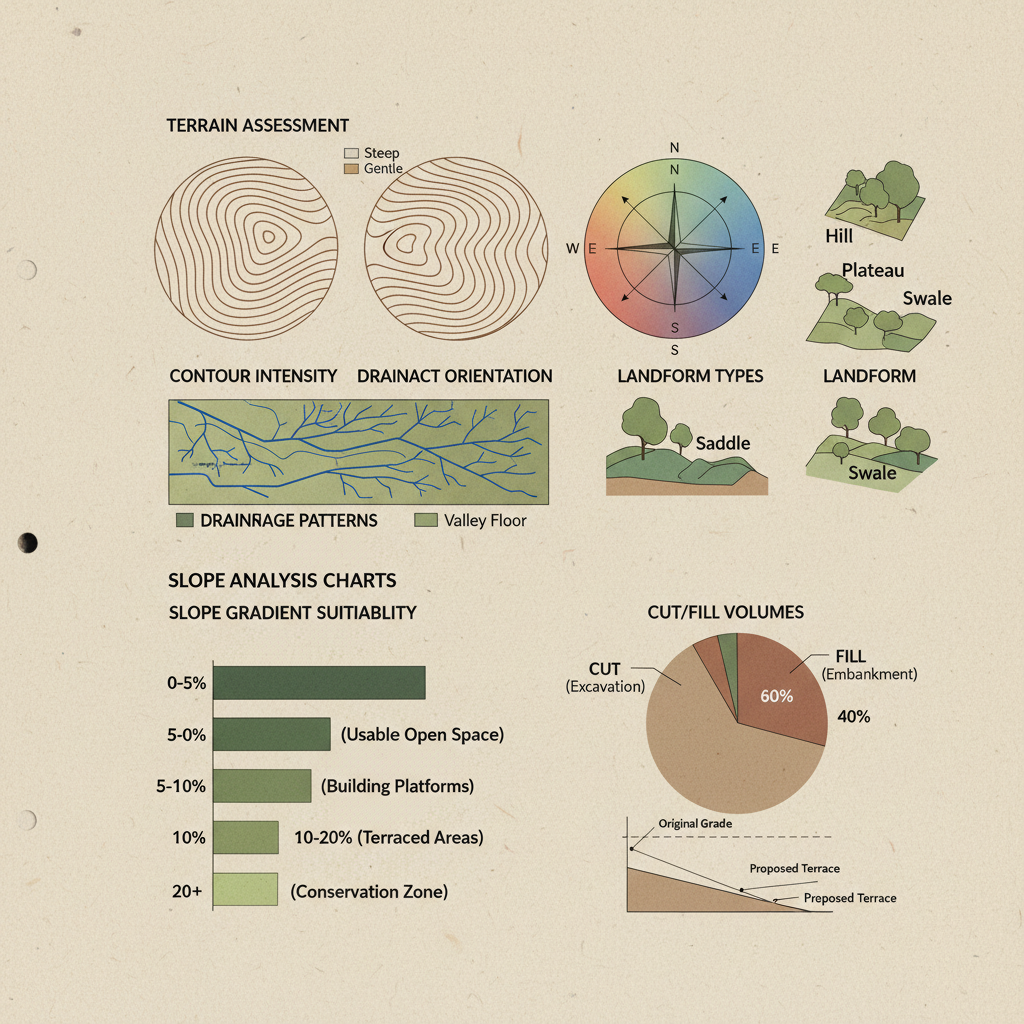
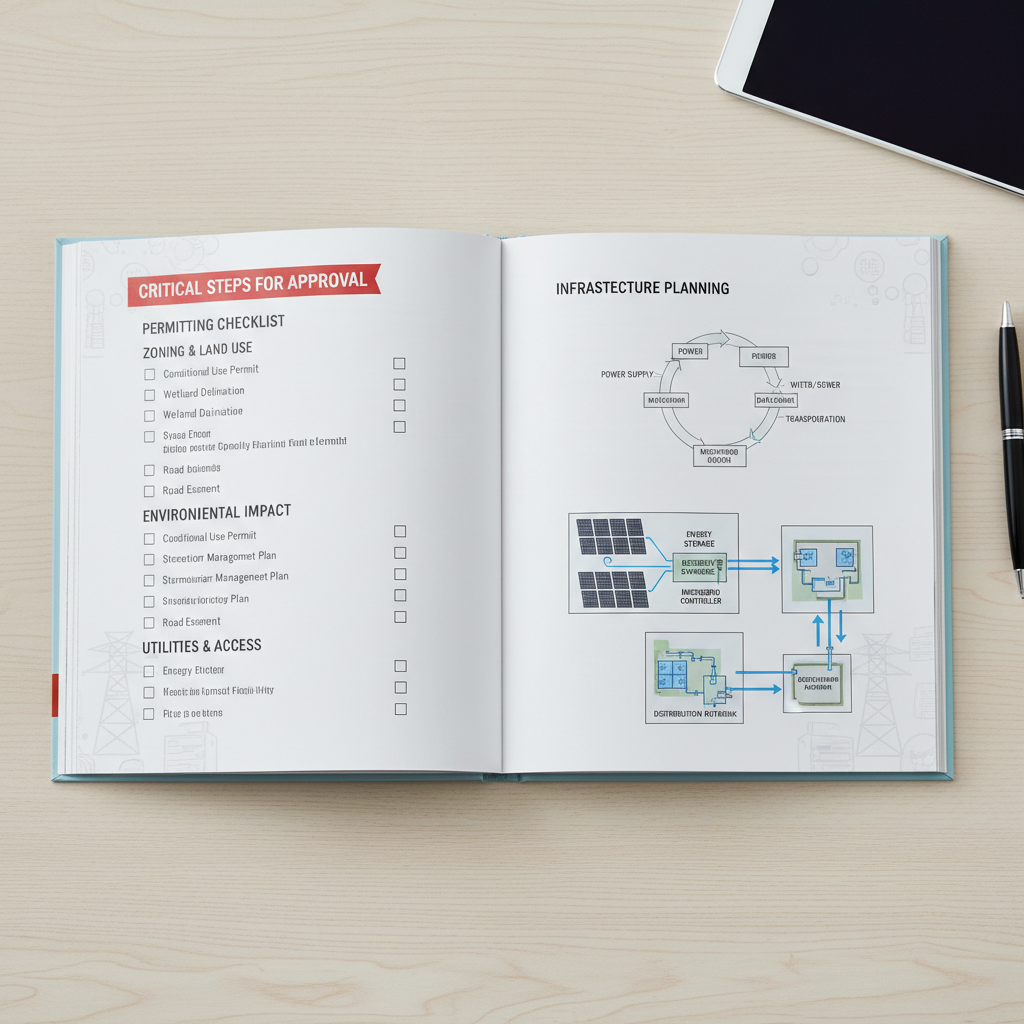
Everything we wish we had when we sited our first yurt. Terrain assessment, permitting basics, and infrastructure planning for first-time glamping developers — beautifully printed, immediately useful.
Not ready for the guide?
Browse the Design Journal →